How to Adjust Presets in Adobe Lightroom
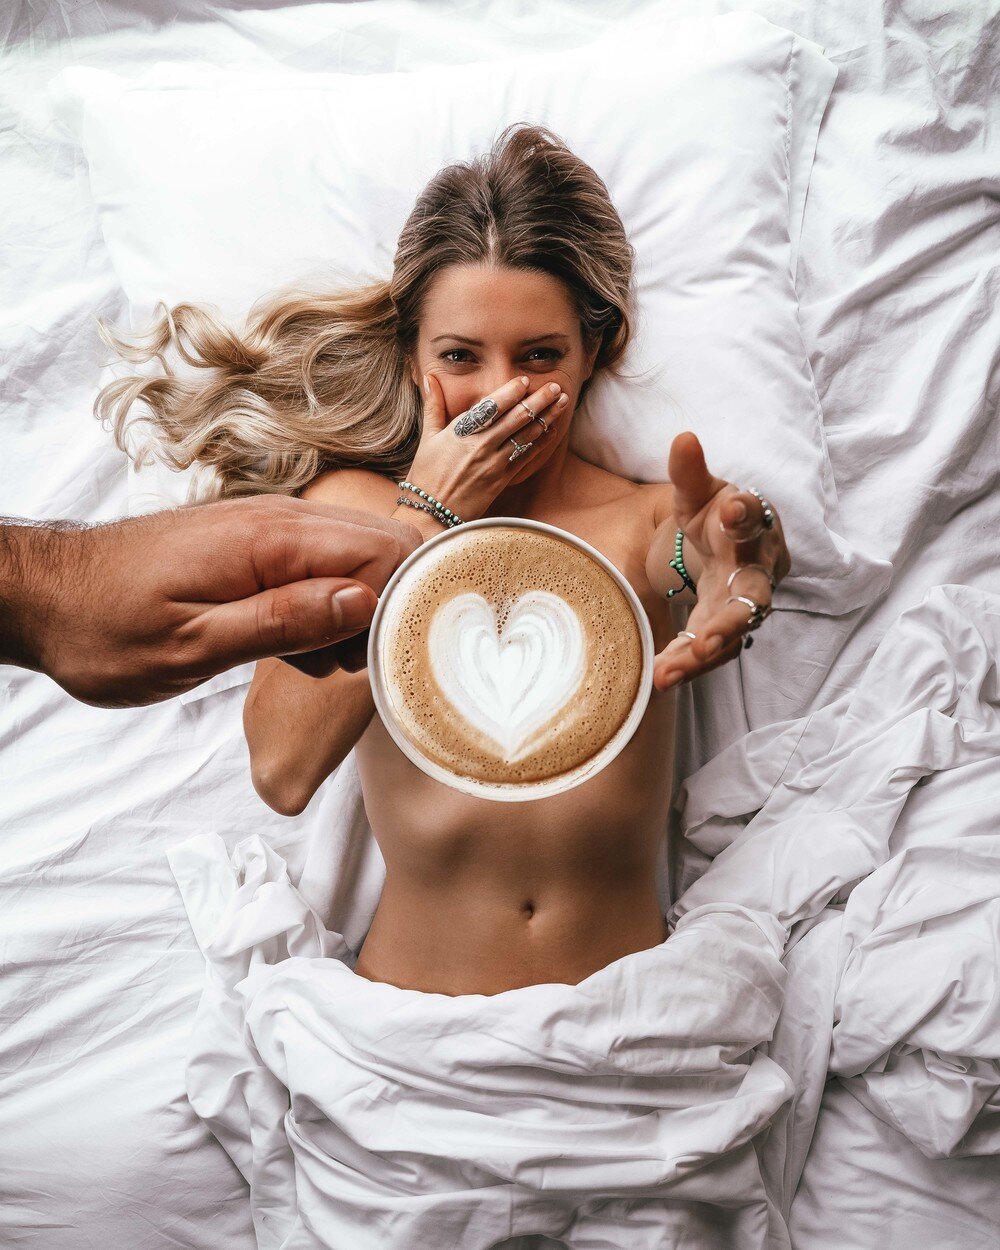
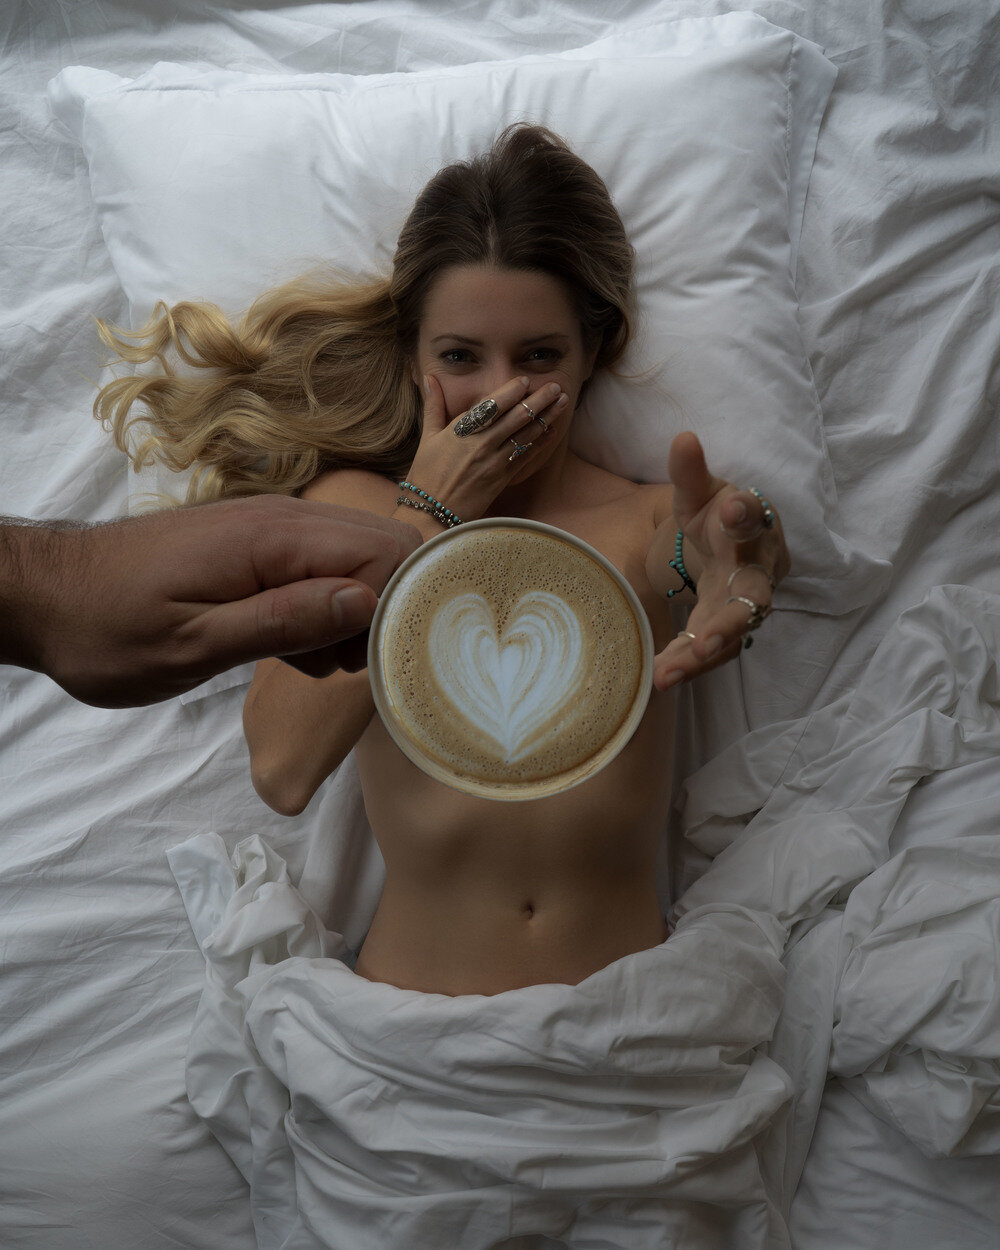
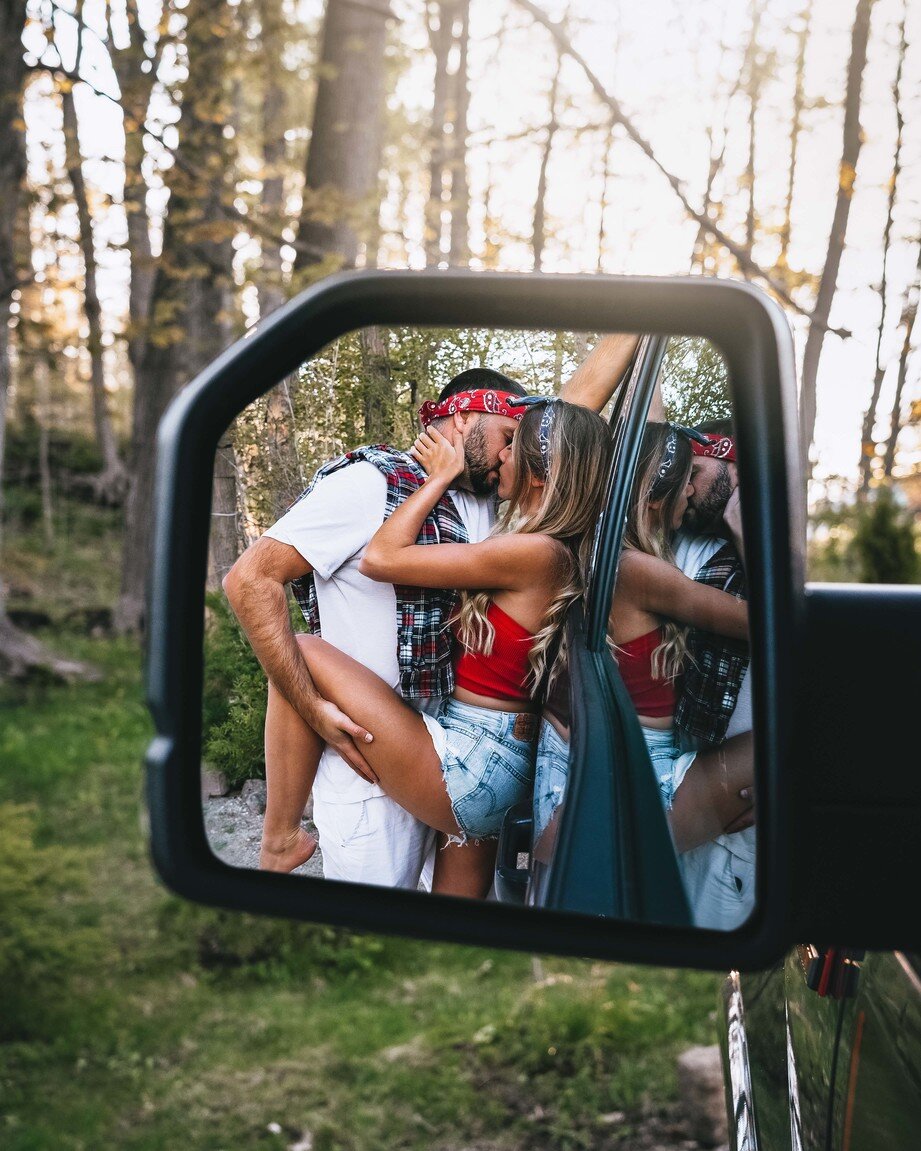
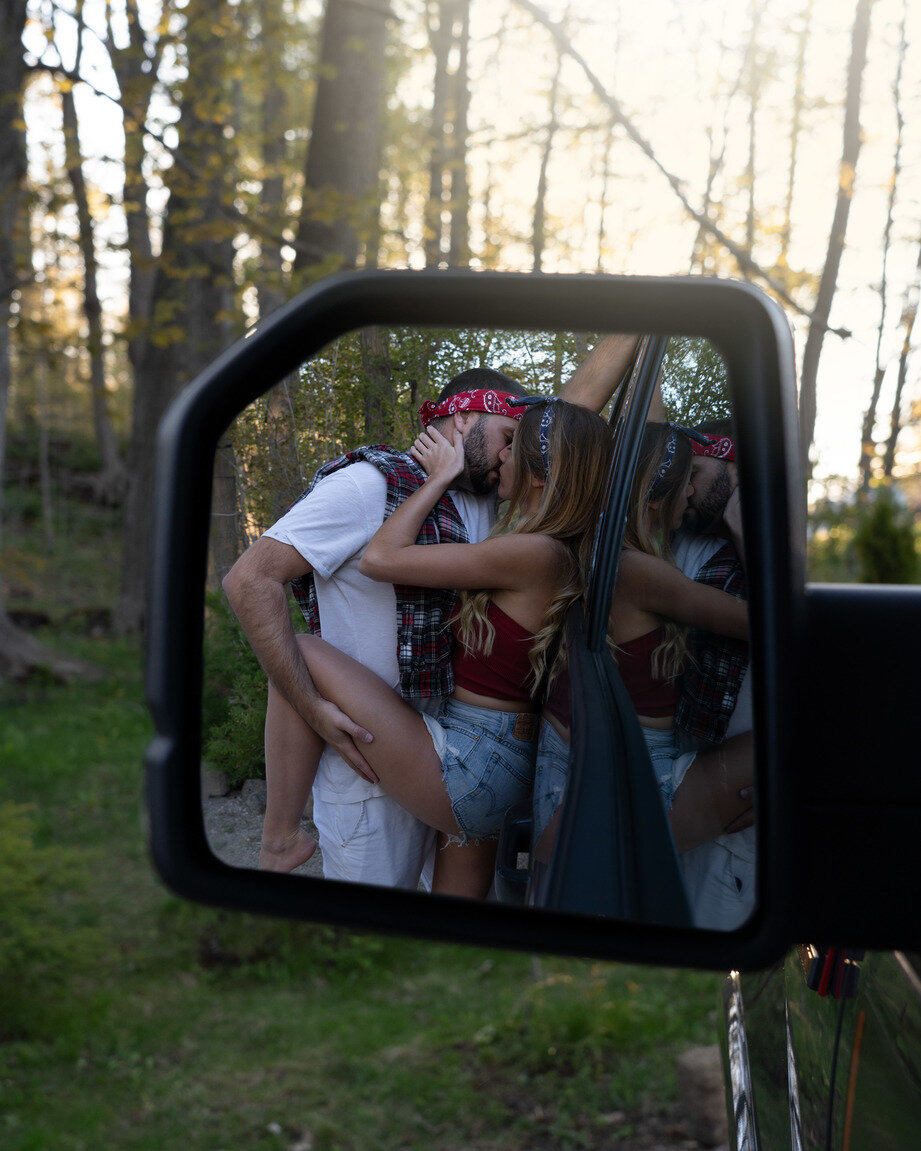
While presets are designed to make your life easier and your photos look 100x better, sometimes minor tweaks are needed depending on the conditions the photo was taken in.
It's important to note that there are SO many things that will influence the final outcome of your photo with presets. Things like:
The Camera/Phone you are using
Natural vs. unnatural light
Lens, Aperture, ISO
Exposure (under vs. overexposed)
You will often find yourself having to tweak the photo a little bit after applying the preset to get the look you are going for.
From our experience with helping you edit your photos, we can see that the number one problem/mistake is that you shoot your photos almost or definitely overexposed (too bright) and the preset makes the photo even brighter.
If you're having issues finding the right look for your photo, take a look at this list and see if it helps!
4 Easy Ways to Edit Your Presets
Preset makes the photo too bright/dark:
Your photo is over/under exposed. Slide the 'Exposure' downwards/upwards.
Presets make the photo too yellow/blue:
Your white balance is off. Slide the 'Temperature' downwards/upwards. Play around with the 'Tint' as well.
Skin is too orange/red:
Navigate to the HSL/Color section and choose the Orange square. Bring the saturation slider down until the skin tone is more realistic. You can make the skin more/less orange by sliding the 'Hue' slider and more/less bright by sliding the 'Luminance' slider.
Image is too "flat":
We use a lot of Contrast and Dehaze in our photos. Contrast makes your image bolder. If your image isn't bold enough or too bold, Slide the 'Contrast'/'Dehaze' up/down.
If you have any further questions, please email us at presets@thelosttwo.com. We are always happy to help!


